
The Custom Home Punch List: How to Run It So Closeout Doesn’t Drag On for Months

Summary
A punch list drags on when it has no agreed scope, no owners and no sign-off. Run it in five steps — walkthrough, categorize, assign, verify, sign off — with every item tied to a room, an owner and a status, and get documented homeowner sign-off as items close. That keeps closeout to weeks, not months.
On this page
To run a custom home punch list that doesn’t drag on, do one structured walkthrough with the homeowner (and architect, if involved), record every item by room with a description and photo, assign each item to one owner with a target date, verify each repair before marking it complete, and get documented homeowner sign-off as items close. A defined scope and visible status are what keep closeout to weeks instead of months.
Key takeaways
- The punch list is the last impression of the whole project. How it’s run shapes referrals.
- Use five steps: walkthrough, categorize, assign, verify, sign off.
- Organize items by room, with a photo, an owner and a status for each one.
- Agree on what the punch list is for, and what it isn’t, before the walkthrough.
- Documented sign-off is how a punch list ends. Without it, it stays open indefinitely.
What is a punch list on a custom home?
A punch list is the list of incomplete or deficient items that remain once a home is substantially complete: paint touch-ups, a misaligned cabinet door, a missing outlet cover, a grout haze, a door that doesn’t latch. Completing it, with the owner’s acceptance, is usually a condition of final payment and of releasing any retainage (see retainage in residential construction).
On a custom home, the punch list carries more weight than its size suggests. The homeowner is about to move in. They’re looking closely at every surface, often for the first time without construction clutter, and their final impression of your company is being formed right now.
Why does the punch list turn into a “never-ending” list?
Most never-ending punch lists share the same causes:
- No agreed scope. New items keep appearing because nobody defined what belongs on the list versus warranty or new work.
- Multiple lists. The homeowner has one, the architect has another, the superintendent has a third, and they never quite match.
- No owner per item. Items assigned to “the painter” or “trim” wait for someone to coordinate them.
- No verification. Items are marked done when the trade leaves, not when someone confirms the fix.
- No sign-off. Without a documented close, the list stays open and every visit adds another round.
The five-step punch list process
Step 1: Walk through together, once
Schedule a dedicated punch walkthrough with the homeowner, and the architect or designer if they’re part of the project. Before you start, agree on the ground rules: the punch list covers incomplete work and defects in the agreed scope. New requests are handled as changes (see change orders vs. budget revisions), and issues that appear after move-in go through your warranty process.
Walk room by room in a fixed order. Record each item as you go, with a photo, so there’s no later disagreement about what was meant.
Step 2: Categorize every item
Give each item a room, a trade, and a priority. Priority helps sequence the work: safety and function first (a door that doesn’t latch, a GFCI that trips), then items that block other trades (touch-up paint before final clean), then cosmetic items.
Step 3: Assign one owner and a target date
Every item gets one owner: a named sub or crew member, not a trade category. Group items by trade so each sub can clear everything in one visit instead of returning several times. Share each trade’s items with them directly, with the photos.
Step 4: Verify before closing
An item is complete when someone from your team has confirmed the fix, ideally with an after photo, not when the trade says they’ve been there. This one habit prevents most repeat items.
Step 5: Get documented sign-off
As items close, let the homeowner (and architect, where relevant) review and accept them. Final acceptance of the full list should be documented: who accepted it, when, and which items, if any, were deferred by agreement. That record closes the list and moves anything later into warranty.
Custom home punch list checklist
Use this as a starting template and adapt it to your projects.
Before the walkthrough
- ☐ Substantial completion reached; final clean scheduled after punch work.
- ☐ Ground rules agreed with the owner: punch vs. change vs. warranty.
- ☐ Architect or designer invited, if part of the project.
- ☐ Room order and list format set; one shared list for everyone.
Walk room by room
- ☐ Walls and ceilings: paint coverage, drywall finish, nail pops, caulk lines.
- ☐ Trim and doors: gaps, alignment, hardware, latching, door stops.
- ☐ Floors: scratches, gaps, transitions, grout and caulk.
- ☐ Cabinets and millwork: alignment, adjustment, hardware, finish damage.
- ☐ Countertops and tile: chips, seams, sealing, grout haze.
- ☐ Windows: operation, screens, glass damage, sealant.
- ☐ Plumbing fixtures: leaks, function, finish, caulk.
- ☐ Electrical: devices and covers, fixtures, labeling, GFCI/AFCI function.
- ☐ HVAC: registers, thermostats, operation.
- ☐ Appliances: installed, operating, trim kits in place.
- ☐ Exterior: siding, paint, grading, hardscape, gutters, cleanup.
Each item records
- ☐ Room and location
- ☐ Description and photo
- ☐ Trade and one named owner
- ☐ Priority and target date
- ☐ Status: open, in progress, ready for review, accepted
Closeout
- ☐ Every item verified by your team before review.
- ☐ Homeowner acceptance documented, with any deferred items listed.
- ☐ Warranties, manuals and as-builts handed over.
- ☐ Final lien releases collected and final pay application submitted.
How to keep the homeowner relationship strong through closeout
Closeout is when homeowners are most anxious: they’re moving, they’ve spent a lot of money, and they’re seeing every flaw. A few habits help:
- Make progress visible. When the homeowner can see each item’s status without asking, they don’t need to call.
- Batch the visits. Fewer, well-organized trade visits are less disruptive once they’ve moved in.
- Close small items fast. Clearing easy items in the first days builds confidence for the harder ones.
- Separate punch from warranty clearly. It protects you and gives the owner a clear path for anything that comes up later.
For broader advice on expectations, see managing homeowner expectations during a custom build.
How Ally handles the punch list
Ally’s punch list is everything you need and nothing you don’t, inside the same project as your tasks, schedule and approvals, so you don’t need a separate punch app. Items are organized by room, each with a description, priority, status and details. You can invite outside collaborators, such as the architect or the homeowner, to view, edit or approve items on the list, and a print view is there when someone wants it on paper.
Because everyone works from one list, there’s no reconciling the owner’s version with the architect’s and the superintendent’s. See how Ally’s task management keeps closeout organized, or learn how residential GCs keep the office and field on the same task list.
Frequently asked questions
How do you do a punch list in construction?
Walk the home room by room with the owner, record each incomplete or deficient item with a description and photo, categorize it by trade and priority, assign one owner and a target date, verify each fix before closing it, and document the owner’s acceptance. One shared list for everyone prevents duplicates and missed items.
How long should a punch list take on a new custom home?
It varies with the size of the home and the number of items, but a well-run punch list commonly closes within a few weeks of the walkthrough. Lists that run for months usually lack an agreed scope, single owners per item or documented sign-off.
What is the difference between punch list and warranty items?
Punch list items are incomplete or deficient work identified at substantial completion, before final acceptance. Warranty items are issues that appear after the owner has accepted the work and moved in, handled under your warranty terms. Agreeing on that line before the walkthrough prevents the punch list from growing indefinitely.
Can a homeowner keep adding items to the punch list?
Only if you let the scope stay undefined. Agree up front that the punch list covers incomplete or deficient work in the contract scope from a dedicated walkthrough. New requests become changes, and later issues go to warranty. Documented sign-off closes the list.
Who should be on the punch list walkthrough?
The homeowner, your project manager or superintendent, and the architect or designer if they’re involved in the project. Trades usually aren’t needed on the walkthrough itself; they receive their items afterward, grouped so they can clear them in one visit.
Want to see a punch list the whole team can work from? Book a demo.
Related resources
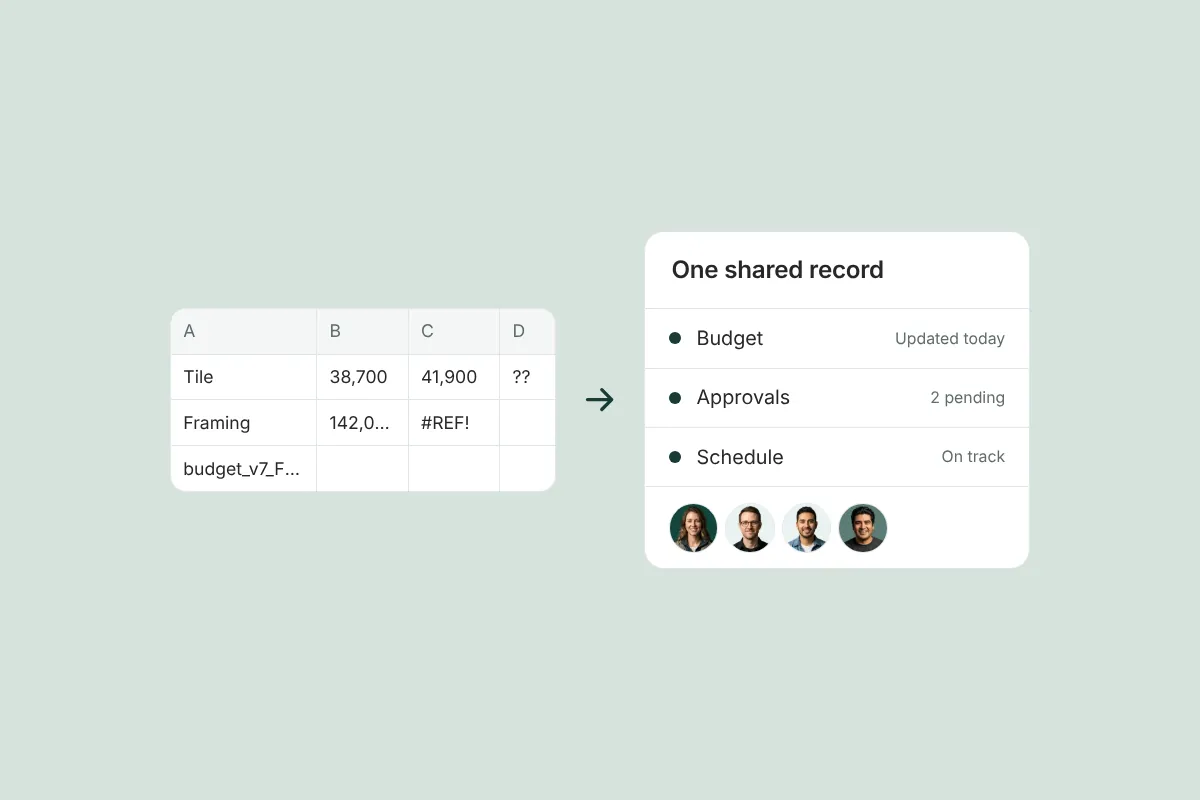
Spreadsheet vs. Project Management Software for Small Residential Builders: When to Switch
An honest comparison of spreadsheets vs. construction project management software for small residential builders, and the signs it’s time to switch.

How Residential GCs Keep the Office and Field Crew on the Same Task List
How residential GCs keep office and field on one task list: clear owners, due dates and photo completion, so everyone knows who owns the next step.

What to Tell a Homeowner When the Construction Schedule Gets Delayed
What to tell a homeowner when a construction schedule slips: a simple framework, sample scripts for each type of delay, and how to document the cause.
Get started with Ally
Start with one project and expand as your business grows. No hidden fees, no long-term contracts.