
The Custom Home Selections Checklist: Every Decision Your Client Needs to Make (and When)

Summary
Custom home selections should be scheduled, not left open-ended. This checklist lists every common owner decision by build phase, from preconstruction through finishes, with the latest point each one can be made without delaying construction, based on typical lead times.
On this page
- Key takeaways
- How to use this checklist
- Phase 1: Preconstruction and design
- Phase 2: Framing and dry-in
- Phase 3: Rough-ins (plumbing, electrical, mechanical, low voltage)
- Phase 4: Insulation, drywall and interior finishes
- Phase 5: Final finishes and closeout
- Common selection traps
- How to run selections meetings that end in decisions
- How Ally keeps selections on schedule
- Frequently asked questions
A custom home selections checklist lists every decision the homeowner must make, organized by build phase, with the latest date each can be made without delaying the schedule. The rule of thumb: a selection is due when the material must be ordered, which is its install date minus the supplier’s lead time and an ordering buffer. Long-lead items like windows and cabinetry are due months before anyone installs them.
Key takeaways
- Schedule selections backward from install dates and lead times, not forward from “when the client is ready.”
- Many decisions are due far earlier than homeowners expect: windows, cabinetry, plumbing rough-in valves and electrical layout come before drywall.
- Rough-in decisions (fixture locations, valve types, lighting and low-voltage layout) lock in long before finishes are chosen.
- Give every selection an owner and a decide-by date, and track approvals in one place the owner, architect and contractor all see.
How to use this checklist
Treat the timing below as a starting point. Lead times vary by market, supplier and season, and custom or imported products can take much longer. For each item on your project:
- Find the install or rough-in date on your construction schedule.
- Confirm the current lead time with the supplier.
- Subtract the lead time plus one to two weeks of ordering and submittal buffer.
- That is the latest decision date. Put it on the selections list with an owner.
The “latest decision point” column below describes when a decision is typically needed relative to construction milestones, assuming common lead times.
Phase 1: Preconstruction and design
| Selection | Latest decision point | Notes |
|---|---|---|
| Contract type, allowances and budget targets | Before contract signing | Agree which items are allowances and how overages work. See allowances explained. |
| Foundation type, basement scope, slab vs. crawlspace | Before permit drawings | Drives structure and permitting. |
| Window and exterior door manufacturer, style, color | Before framing starts | Rough openings depend on unit sizes; lead times are often 8–16+ weeks. |
| Roofing material | Before framing | Affects structural loads and roof framing details. |
| Fireplace type and fuel (gas, wood, electric) | Before framing | Venting, chase framing and gas line routing. |
| HVAC system type and zoning | Before framing | Mechanical room size, chases, duct routing. |
| Elevator, lift or dumbwaiter | Before foundation | Pit and shaft dimensions; long lead times. |
| Solar, generator, battery storage | Before framing | Electrical service size, conduit and roof layout. |
Phase 2: Framing and dry-in
| Selection | Latest decision point | Notes |
|---|---|---|
| Exterior siding, stone and trim materials | 4–8 weeks before exterior finishes | Stone and specialty cladding can run long. |
| Garage doors | 6–8 weeks before installation | Openings are framed earlier; confirm sizes before framing. |
| Built-in cabinetry and millwork design | Before rough-in (shop drawings need final dimensions) | Custom cabinetry commonly needs 10–16 weeks after shop drawing approval. |
| Shower configurations (curbless, steam, bench, niches) | Before framing is complete | Floor recesses, blocking and steam venting are framed in. |
| Wall-mounted TVs, art lighting, heavy fixtures | Before framing inspection | Blocking locations. |
| Stair design, railings and treads | Before framing (structure); 6–10 weeks before install (finish) | Custom metal or glass railings run long. |
Phase 3: Rough-ins (plumbing, electrical, mechanical, low voltage)
This is the phase homeowners most often underestimate. Locations and valve types are locked in before drywall, even if the finish fixtures are chosen later.
| Selection | Latest decision point | Notes |
|---|---|---|
| Plumbing fixture types and locations (wall-mount vs. deck-mount faucets, tub filler, shower system) | Before plumbing rough-in | Rough-in valves are fixture-specific. |
| Water heater type (tank, tankless, recirculation) | Before plumbing rough-in | Venting, gas and electrical needs. |
| Kitchen appliance models | Before rough-in and cabinet shop drawings | Cutouts, gas, electrical and venting are model-specific. |
| Lighting plan: recessed, pendants, sconces, under-cabinet | Before electrical rough-in | Box locations and circuits. Finish fixtures can follow. |
| Switch and outlet locations, dimming, smart controls | Before electrical rough-in walkthrough | Do a homeowner walkthrough with the electrician. |
| Low-voltage: Wi-Fi, audio, security, cameras, shades | Before low-voltage rough-in | Motorized shade pockets and wiring are framed and wired early. |
| Central vacuum, intercom, pet doors | Before rough-in | Easy to forget, hard to add later. |
Phase 4: Insulation, drywall and interior finishes
| Selection | Latest decision point | Notes |
|---|---|---|
| Drywall finish level, ceiling treatments, wall paneling | Before drywall | Level 5 finish and plaster change cost and duration. |
| Interior doors and door hardware | 6–10 weeks before trim | Custom doors and hardware can run 10+ weeks. |
| Trim and casing profiles | 4–6 weeks before trim | Custom profiles need knife grinding. |
| Flooring: hardwood, stone, tile | 6–12 weeks before installation | Wood needs acclimation time on site. |
| Tile for baths, kitchen backsplash, laundry | 6–10 weeks before tile starts | Imported or handmade tile often longer. |
| Countertops: material and slab selection | Before cabinet install (template after install) | Visit the slab yard early; fabrication follows template. |
| Cabinet finishes and hardware | With cabinet order | Finish samples should be approved in writing. |
Phase 5: Final finishes and closeout
| Selection | Latest decision point | Notes |
|---|---|---|
| Paint and stain colors | 2–3 weeks before painting | Approve on site with samples under real light. |
| Decorative light fixtures | 6–10 weeks before trim-out | Imported fixtures can run longer. |
| Plumbing trim and finish fixtures | 6–8 weeks before trim-out | Rough valves already set the family. |
| Mirrors, shower glass, closet systems | After tile and paint (field measure) | Field measured; 3–6 weeks to fabricate. |
| Window treatments | 4–8 weeks before move-in | Motorized shade wiring was set at rough-in. |
| Landscape, hardscape, exterior lighting | Before final grading | Irrigation and lighting sleeves go in earlier. |
Common selection traps
- Appliances chosen after cabinets are ordered. Panel-ready and professional appliances change cabinet dimensions. Lock models before shop drawings.
- “We’ll pick fixtures later.” True for the finish trim, not for the rough-in valve or wall-mount spout heights.
- Unapproved samples. A finish sample the owner “liked” in a meeting isn’t an approval. Record the approved sample, version and price.
- Allowance surprises. Show the running allowance balance as selections are made, not at the end.
How to run selections meetings that end in decisions
A checklist only works if decisions actually get made. Most builders run a series of selections meetings, grouped so related choices happen together: exterior materials and windows in one session, kitchen and baths in another, lighting and electrical layout with the electrician on site.
- Send the agenda and options in advance. The homeowner should arrive having seen the two or three options for each item, with prices and lead times.
- Invite the right people. Bring the interior designer for finishes, the architect when a decision affects the drawings, and the relevant trade for layout walkthroughs.
- Separate “we like this” from “approved.” End each item with one of three outcomes: approved to proceed, approved to price, or still open with an owner and a date.
- Confirm in writing the same day. Send the decisions, prices and schedule impact for approval through your normal process, and update the allowance balances.
Open items carry forward to the next meeting or your regular owner–architect–contractor meeting until they are closed.
How Ally keeps selections on schedule
Ally tracks every selection and approval in one place the owner, architect and contractor can all see. Selection requests go to the homeowner with photos and details; they can ask questions and approve digitally, and Ally follows up automatically on pending approvals. Every approval is timestamped and searchable, and approved changes flow into the budget and schedule, so everyone stays organized, informed and aligned on budget, schedule and decisions.
Explore client approvals in Ally, and see how to keep homeowner selections moving for the process behind this checklist.
Frequently asked questions
When do you choose finishes when building a custom house?
Earlier than most homeowners expect. Structural and layout decisions come before framing, rough-in decisions (fixture locations, valves, lighting layout, low voltage) before drywall, and most finish materials 6–12 weeks before installation. Work backward from each item’s install date and lead time.
What should be on a new construction selections list?
Everything the homeowner must decide: windows and doors, exterior materials, roofing, cabinetry and millwork, appliances, plumbing and lighting fixtures, electrical and low-voltage layout, flooring, tile, countertops, hardware, paint, mirrors, closets, window treatments and landscape. Group them by build phase with a decide-by date for each.
How far in advance do custom home selections need to be made?
It depends on lead time. Windows and custom cabinetry often need decisions two to four months before installation; tile, flooring and lighting six to twelve weeks; paint two to three weeks. Always confirm current lead times with suppliers, which vary by market and season.
Who should manage the selections schedule on a custom home?
The contractor usually owns the overall schedule and the decide-by dates, often with the interior designer or architect presenting options. What matters is that each selection has one named owner responsible for getting the decision made and that everyone works from the same list.
Want a selections process your whole team can see? Book a demo.
Related resources
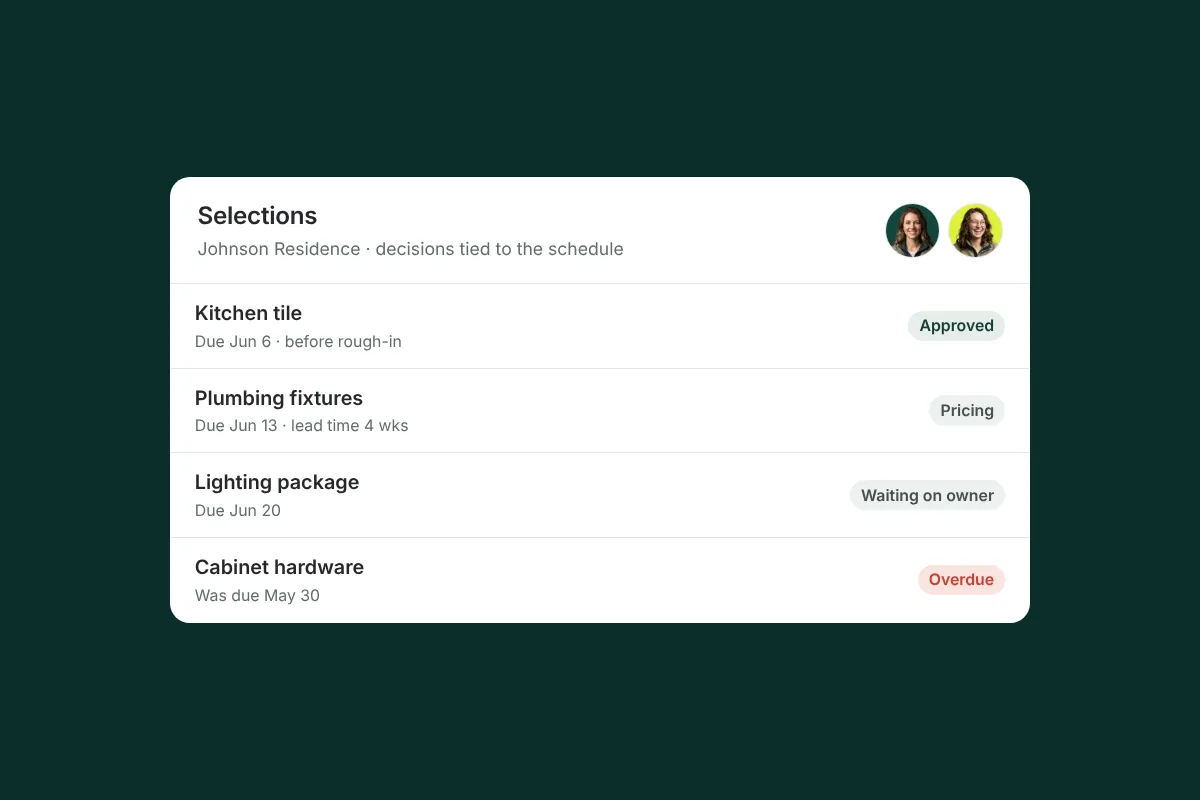
How to Keep Homeowner Selections Moving Without Losing Track of What Was Approved
Homeowner selections stall when nobody owns the decision. Set a deadline tied to the schedule, record exactly what was approved and its cost impact.
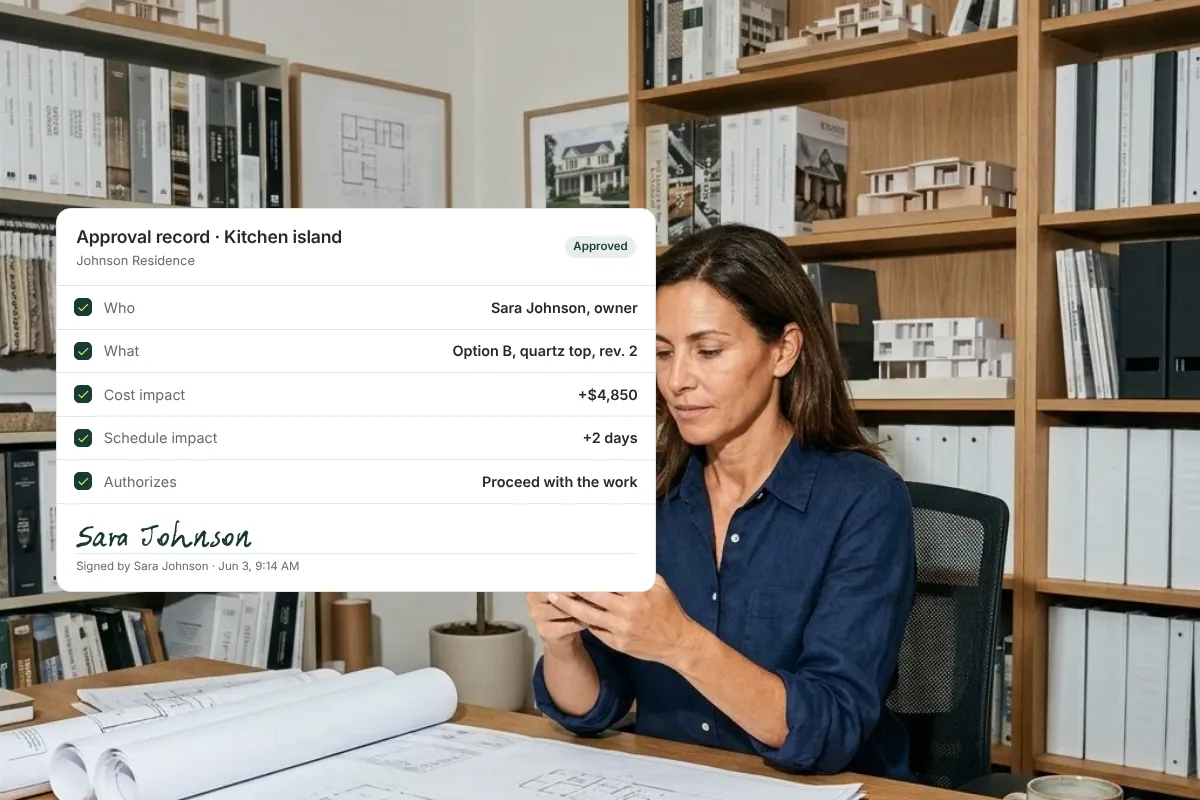
How to Properly Document Owner Approvals on a Custom Home
A “sounds good” text is weak proof. Learn what a properly documented owner approval includes: who, what, when, version, cost and schedule impact.
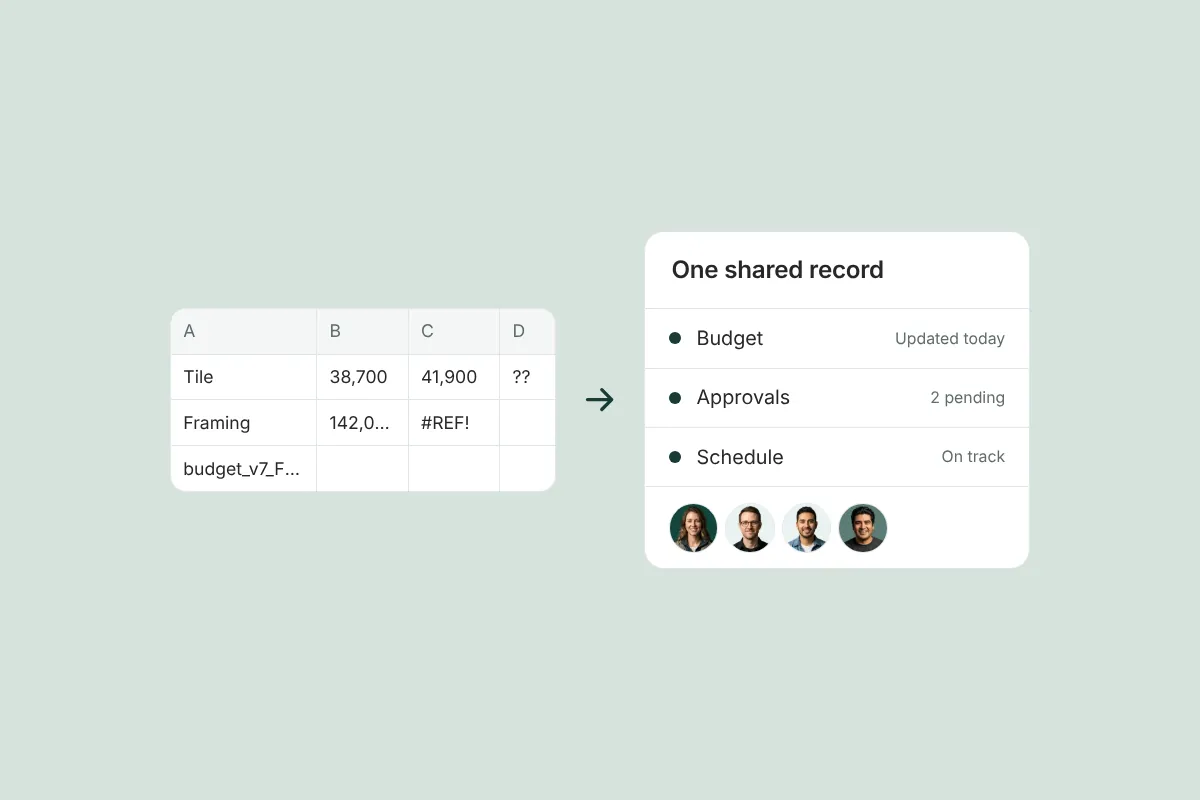
Spreadsheet vs. Project Management Software for Small Residential Builders: When to Switch
An honest comparison of spreadsheets vs. construction project management software for small residential builders, and the signs it’s time to switch.
Get started with Ally
Start with one project and expand as your business grows. No hidden fees, no long-term contracts.